Inch Pinch
Inch Pinch
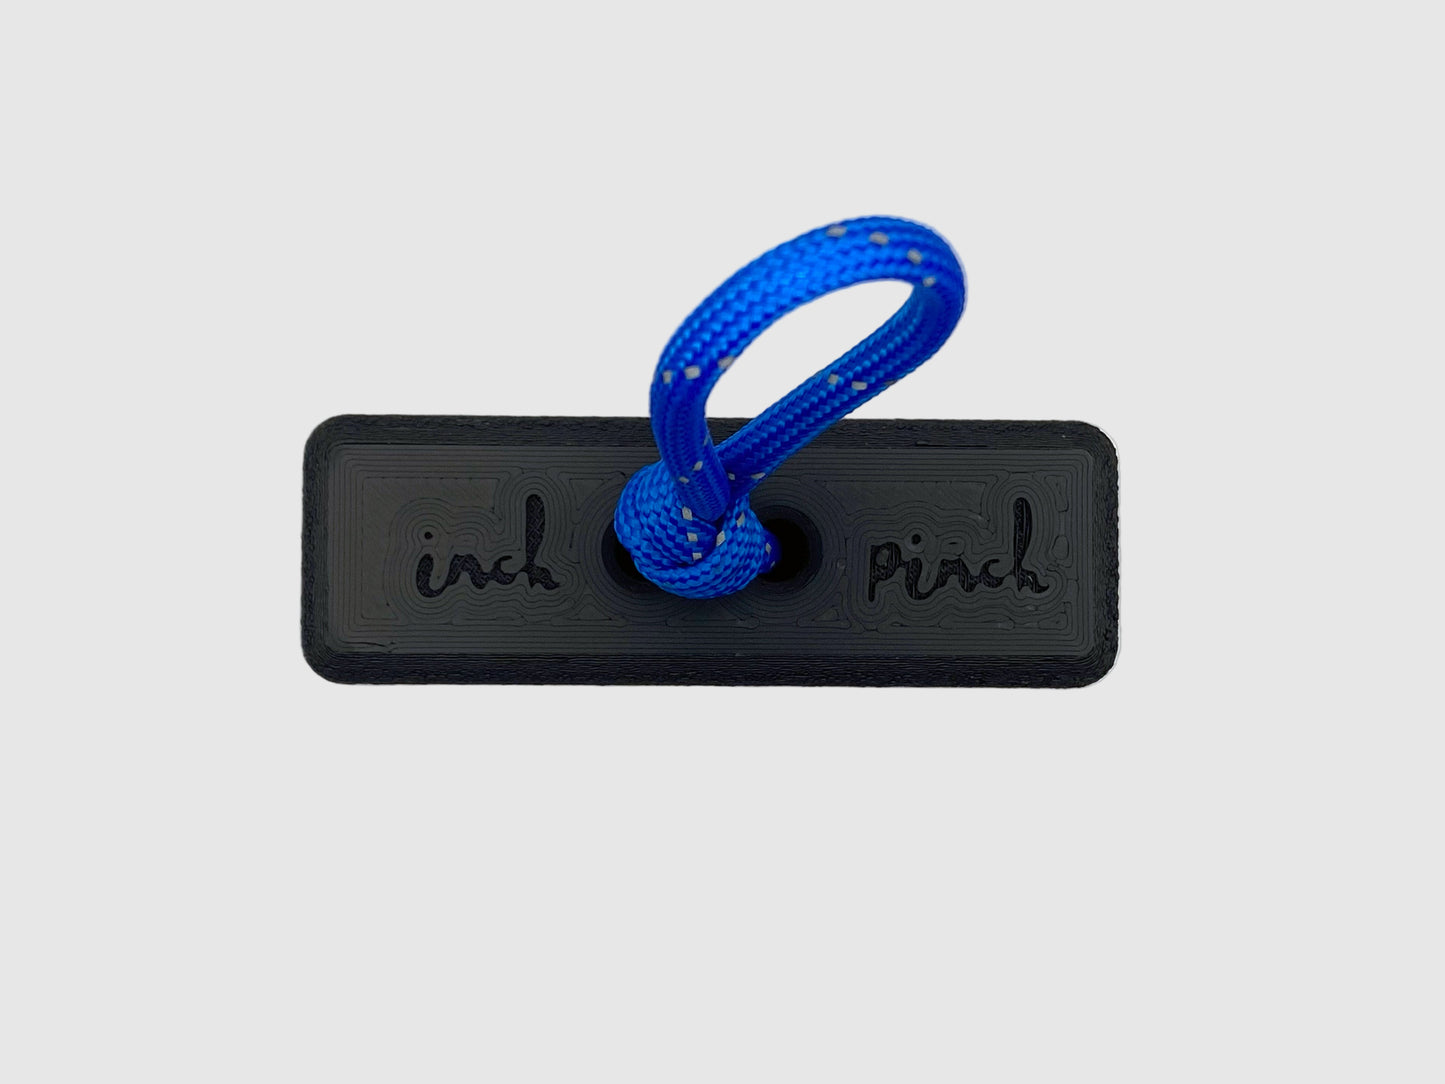
A compact, lightly textured key pinch block that's much harder than it looks. Tests and builds thumb-focused key pinch strength through max singles and timed holds.
Couldn't load pickup availability
A compact key pinch tool that’s much harder than it looks. The Inch Pinch is designed to test and develop your key pinch strength in a small, thumb-focused format with a lightly textured surface for secure grip.
It isn’t a direct climbing-specific tool, but if you like pinching knobs, volume features, or awkward little edges, you may appreciate how this transfers to real holds.
How to Use
Use the Inch Pinch for max-effort singles, short timed holds (5–10 seconds), or added-weight key pinch lifts. Start with conservative loads and build up gradually, especially if you’re new to dedicated key pinch training.
Who It’s For
Best suited to grip enthusiasts, strength athletes, and climbers who enjoy focused thumb and key pinch work, or who want a compact tool to benchmark and challenge their pinch strength over time.
Dimensions:
55mm tall × 75mm long × 25mm wide
2.125 in tall × 3 in long × 1 in wide
Choice of cord color. Carabiner not included.