


Hub Pinch
Hub Pinch
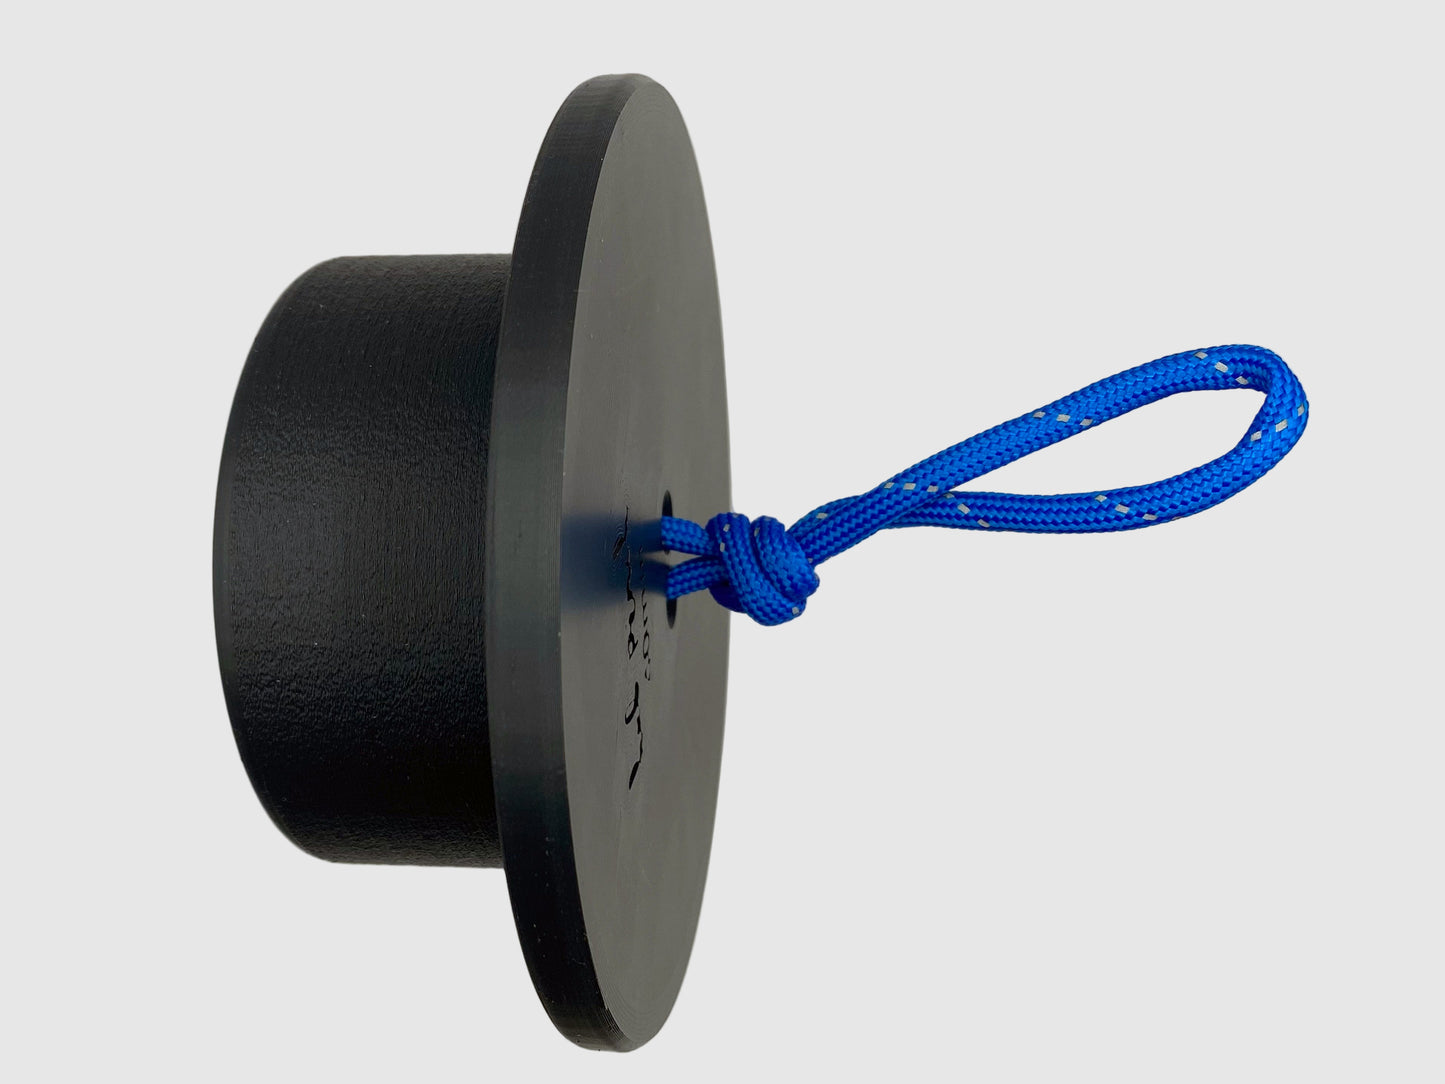
A compact hub-style pinch with a base that caps finger depth. Forces a consistent pad-and-a-half pinch position humbling thumb and fingertip work.
Regular price
$14.00
Regular price
Sale price
$14.00
Unit price
per
Couldn't load pickup availability
A compact hub-style pinch trainer for serious thumb and pinch strength. The Hub Pinch sits alongside the Brick Pinch as an excellent way to build pure pinch power.
The bottom base limits how deep your fingers can settle, creating a consistent pad-and-a-half pinch surface and forcing the thumb and fingertips to do the work.
Dimensions:
40mm tall × 75mm wide
(1.6 in tall × 3 in wide)
Choice of cord color. Carabiner not included.


Frequently Asked Questions
What is a hub pinch and how is it different from a regular pinch block? +
A hub pinch is a specialized training tool designed to isolate your thumb and fingertips by limiting how much of your fingers can contact the surface. Here's how it works: The hub is a short, cylindrical block with a smooth, rounded surface. When you pinch it: - Your fingertips and thumb pad make contact with the top edge - The rest of your fingers have very little surface to grip - This forces your thumb and fingertips to do almost all the work. How it's different from a regular pinch block: A standard pinch block has a flat or wide surface that lets your whole finger pad engage. The hub pinch removes that support — your fingers can't "hide" behind extra surface area. This shifts the load directly onto your thumb flexors and fingertip strength. Why grip sport athletes use it: In grip competitions, hub lifting is a dedicated event. The limited contact area makes it one of the purest tests of thumb and fingertip strength. For climbers, that same mechanic trains the exact muscles used on small pinches, pad-and-a-half holds, and compression moves. Simple way to think about it: A regular pinch block is like holding a book — your whole hand wraps around it. A hub pinch is like holding a hockey puck — only your fingertips and thumb touch, so they have to work much harder. Quick tip: Start with a taller hub or lighter weight to learn the grip pattern. The shorter the hub, the less finger contact you have — and the harder it feels.
Why would a climber train with a hub pinch? +
Climbers train with a hub pinch because it targets thumb and fingertip strength in a way that directly transfers to climbing — especially on small pinches, pad-and-a-half holds, and compression moves. Here's the climbing connection: Small pinches: When you pinch a tiny hold on the wall, your fingers can't wrap around it. The hub pinch trains that exact limitation — forcing your thumb and fingertips to hold the load without finger support. Pad-and-a-half grip: Many climbing holds require you to pinch with just the pads of your fingers and thumb. The hub's limited surface mimics this demand, building strength for those specific positions. Compression holds: On slopers or compression moves, your thumb often works independently to stabilize your grip. Hub training isolates that thumb engagement so it doesn't fade when your forearms pump. Thumb endurance: Most climbers have weaker thumb strength than finger strength. The hub pinch exposes this weakness and forces your thumb to catch up — so it doesn't quit mid-climb. What actually gets stronger: Thumb flexor strength (your thumb curling and compressing); Fingertip contact strength (the pads of your fingers holding small surfaces); Thumb opposition (your thumb pressing against your fingers); Neural recruitment (your brain learning to fire thumb/fingertip muscles more effectively). Simple way to think about it: Climbing builds general grip strength. Hub training builds the specific thumb and fingertip strength that climbing sometimes misses. Quick tip: Train hub pinches 2-3 times per week with rest days between sessions. Your thumb will adapt faster than you think, and you'll notice the difference on pinch-heavy climbs within a few weeks.
How do I actually lift with the Hub Pinch? +
Lifting with the Hub Pinch is simple but specific — and getting the technique right matters for both effectiveness and safety. Step-by-step lifting pattern: 1. Attach weight: Clip a weight plate or dumbbell to the hub using a carabiner and rope/cord. Make sure the connection is secure before lifting. 2. Grip the hub: Place the pads of your fingertips and thumb on the top edge of the cylinder. Your fingers should be slightly curled, not flat. The hub should rest against your fingertip pads — not deep in your palm. 3. Lift with control: Stand up with the weight off the ground. Keep your arm straight and lift with your legs, not your back. Hold for 5-10 seconds. 4. Lower with control: Reverse the motion slowly. Don't just drop the weight — guide it down to protect your thumb tendons. What correct form looks like: Fingertip contact: The hub should rest against the pads of your fingertips and thumb — not your palm or finger joints. Thumb opposition: Your thumb should actively press against your fingers, creating compression. You should feel your thumb working, not just hanging there. Straight arm: Your arm should be fully extended when holding the weight. This isolates the grip — if your arm is bent, your biceps are helping. Neutral wrist: Your wrist should stay straight, not bent forward or backward. Engaged shoulder: Keep your shoulder "active" (slightly pulled down and back) to protect your shoulder joint. Common mistakes to avoid: Gripping too deep: If the hub is resting in your palm instead of on your fingertips, you're not training the right muscles. Thumb not engaged: If your thumb is relaxed or just "along for the ride," you've lost the isolation benefit. Letting it slip: If the hub is sliding in your hand, either use chalk or reduce the weight. Slipping means you're losing tension. Holding too long or too short: Aim for 5-10 seconds. Less than 5 seconds = too heavy. More than 12 seconds = too light. Simple self-check: After each hold, ask yourself: - Did I feel it in my thumb pad and fingertip pads? ✓ - Did my arm stay straight and wrist neutral? ✓ - Did the hub stay secure (no slipping)? ✓ If yes to all three, you're lifting it right. Quick tip: Use chalk before every attempt. Hub lifting is highly friction-dependent, and sweaty hands will slip no matter how strong you are. Keep a chalk bag nearby and reapply between sets.
How does the height of the hub change the difficulty? +
The height of the hub changes how much of your fingers can contact the surface — which directly affects how hard the lift feels. Here's how height changes the mechanics: Taller hub: More surface area for your fingers to grip. Your fingertips and thumb share the load more evenly. Feels easier per pound, great for learning the movement or building baseline strength. Shorter hub: Less surface area for your fingers. Your thumb and fingertips have to do almost all the work. Feels harder per pound, great for advanced thumb/fingertip strength. Why shorter = harder: When the hub is short, your fingers can't wrap around it or find extra purchase. Only the very tips of your fingers and thumb pad make contact. This removes mechanical advantage and forces pure thumb/fingertip strength. Simple progression guideline: Start with a taller hub to learn the grip pattern and build baseline strength. Once you can lift a target weight with good form, move to a shorter hub to increase the challenge — without adding more weight. Simple way to think about it: Tall hub = more finger help, smoother learning curve; Short hub = pure thumb/fingertip demand, advanced challenge. Quick tip: If you only have one hub height, you can still progress by: Adding weight gradually; Slowing the lift/lower tempo; Increasing hold time (up to 10 seconds); Training one hand at a time to expose imbalances.